How To Turn On Screen Record On Iphone
Understanding Screen Recording on iPhone
Demystifying the Screen Recording Feature
The screen recording feature on iPhone is a powerful tool that lets you record your activities on the screen. It's like having a built-in camcorder in your iPhone that can catch everything happening on any app, from gameplay videos, walkthroughs, tutorials, or even capturing a bug for tech support. Being an in-built feature in all iPhones that function on iOS 11 and above, you don’t need a third party app to activate or use it. This offers convenience and efficiency as you can capture any screen activity without fretting over privacy or security concerns.
Benefits of Using Screen Recording Feature
There are numerous benefits to using the iPhone's screen recording feature. For one, it’s highly efficient in creating tutorials or demo videos to showcase a process or a feature within an application. This is crucial for app developers or marketers who want to display the usability of their products. It also acts as a valuable tool for generating social proof, this can be done by recording customer reviews, or even recording a real-time interaction with your app or service. Lastly, the tool proves to be an excellent avenue for problem resolution, as it gives a visual understanding of glitches, making it easier for the tech teams to solve them quickly.
How the iPhone Screen Recording Feature Tackles Privacy Concerns
User privacy is another essential matter. Having capabilities to record screen activities may also cause skepticism among customers regarding their privacy. However, Apple Inc., in its commitment to privacy, ensures that the feature is configured in such a way that it doesn’t record any private information unless the user permits it. Users are informed whenever an app asks to record the screen, and the recording can be stopped anytime. Moreover, any recorded video gets saved in the iPhone’s gallery and not in any cloud server, hence it doesn't leave the device without user's permission.
Step-by-step guide to turn on Screen Record on iPhone
Add Screen Recording to Control Center
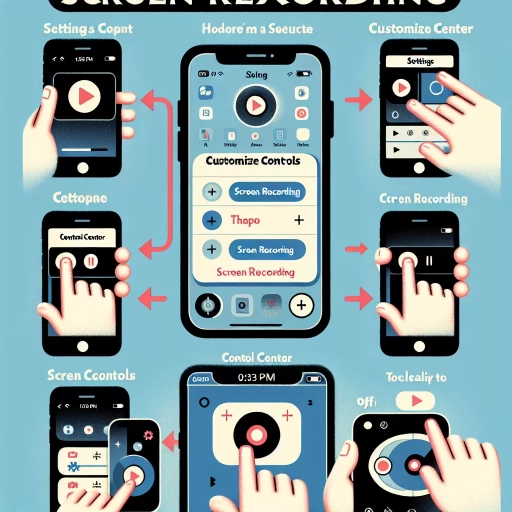
Firstly, it's important to note that the screen recording tool needs to be added to the Control Center. Users can do this by going to the 'Settings' app on the iPhone, then selecting 'Control Center'. To include the Screen Recording, tap '+' next to Screen Recording. This simple first step makes the screen recording feature accessible from the Control Center for future use.
Activating the Screen Recording Feature
To activate the screen recording, users need to swipe up from the bottom edge of any screen – on iPhone X or later or iPad with iOS 12 or later, swipe down from the upper-right corner of the screen. In the Control Center, press and hold the gray circle and tap Microphone. Tap "Start Recording", then wait for the countdown. The recording then begins and can be stopped anytime by going back to the Control Center and pressing the recording button again.
Accessing and Sharing Recorded Screens
All recorded content goes directly to the Photos app. Users can view, edit, and share their recordings by opening the Photos app and tapping on the recording. There is an inbuilt editing feature on iPhone which allows basic editing such as trimming or changing the orientation of the video. Furthermore, these videos can be shared directly to social media sites, emailed, or even messaged directly from the Photos application.
Understanding Common Issues and Solutions With Screen Recording
Screen Recording Not Working
Sometimes, users may find the screen recording feature not working. This could be because of a software glitch. In such cases, iPod Touch, iPad, and iPhone users can restart their device and check if the feature works. If it's still malfunctioning, looking for updates in the 'Settings' and updating the device can resolve the issue.
No Sound in Screen Recording
There might also be instances where the screen recording proceeds as expected, but there is no sound in the resulting video. This is typically due to the microphone being turned off. Users can rectify this by switching on the microphone in the Control Center before recording.
Navigating Storage Issues
iDevices come with a limited amount of storage. If the device storage is full, the screen recording feature might not function as expected. In this scenario, users can free up some space by deleting unnecessary applications or files. It’s also recommended to periodically check the storage space, especially if you use the screen recording feature frequently, to avoid this issue.