How To Tell If Chicken Is Cooked
Understanding the Basics of Cooking Chicken
The Importance of Properly Cooked Chicken
The importance of adequately cooked chicken cannot be overstated. Poultry, such as chicken, is a potential carrier of harmful bacteria, such as Salmonella and Campylobacter. These organisms can cause foodborne illnesses, which can be highly uncomfortable, severe, and sometimes fatal. It's not something you'd wish on anyone, let alone experience yourself. Cooking chicken to the recommended internal temperature is a sure-fire way to kill these bacteria, ensuring that your chicken is not only delicious but also safe to eat.
What is the Correct Temperature?
The recommended internal temperature for cooked chicken is 165 degrees Fahrenheit or 74 degrees Celsius. This is the temperature that will kill off harmful bacteria making the chicken safe to consume. This is confirmed by various food safety agencies, including the USDA and the FDA. This temperature can be achieved through various cooking methods including grilling, roasting, baking, and frying.
How to Use a Meat Thermometer
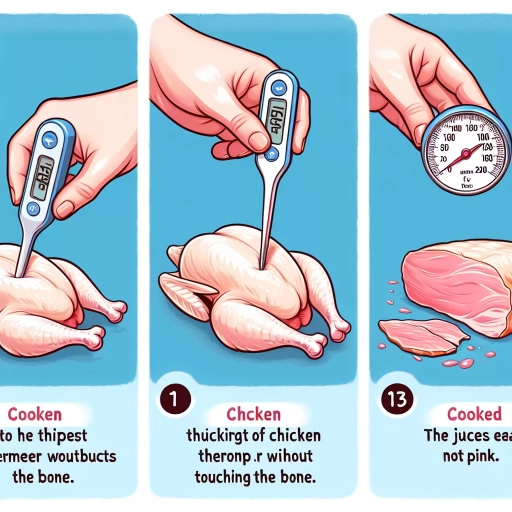
Measuring the internal temperature of your chicken is the most accurate way to tell if your chicken is cooked. To do this, you'll need a meat thermometer. Insert the thermometer probe into the thickest part of the chicken, making sure not to hit any bones. The thermometer should read 165 degrees Fahrenheit or 74 degrees Celsius. If it does, your chicken is cooked. If not, continue cooking and keep checking until it does.
Visual Inspection Techniques
Checking Chicken's Color
Chicken's color can be a good indicator of its doneness. Cooked chicken should be white or opaque all the way through. If there are any pink or translucent patches, it means that the chicken is still raw and needs more cooking time. However, the color can be deceiving at times. Sometimes, cooked chicken can still have a slightly pinkish hue due to the muscle fibers' natural color or the chicken's exposure to nitrates. Therefore, checking the color alone can't guarantee that your chicken is cooked, and it should also be used in conjunction with other techniques.
Observing the Chicken's Juices
Checking the color of the juices that flow from the chicken is another technique to determine if the chicken is cooked. When you cut into the chicken, take note of the color of the juice that comes out. If the juices are clear, that's usually a good sign that the chicken is done. If the juices are pink or have a bloody color, the chicken needs to be cooked longer.
Doing the Poke Test
The poke test is a simple method where you poke the chicken with a fork or a skewer. If the chicken is cooked, the fibers of the meat will have stiffened, and it should feel firm when poked. If not, the meat will feel squishy or offer less resistance. However, this method is a bit subjective, and beginners may find it difficult to tell the difference. Therefore, while the poke test can be handy, it's always safer to rely on internal temperature readings when in doubt.
Other Safe Methods to Confirm Doneness
Cut and Peer Method
The cut and peer method involves slicing the chicken and checking the color and texture of the meat's interior. Cooked chicken should appear white or opaque, and the texture should be firm to the touch. However, remember that larger pieces of chicken, especially those with bone, may take longer to cook, so it's essential to pay attention to these parts.
Using Pop-up Timers
Some chickens, especially whole birds, come with a pop-up timer that pops up when the chicken is cooked. These timers are usually set to pop up when the chicken reaches the minimum safe internal temperature of 165 degrees Fahrenheit or 74 degrees Celsius. They can be a great help, especially for beginners, but remember that they are not 100% reliable, and it's wise to have a spare meat thermometer to double-check.
Calculating Cooking Time
Frequently, cooking time is dictated by the weight of the chicken. As a general rule of thumb, chicken should be cooked for 20 minutes for each pound, plus an additional 10-15 minutes. This method, however, can be affected by various factors such as the chicken's starting temperature, the accuracy of your oven, and even the type and size of roasting pan used. So while this is a useful guide, it's always best to verify with a thermometer.