How To Screen Record On Iphone
Understanding Screen Recording on iPhone
General Concept of Screen Recording on iPhone
Screen recording on an iPhone is a feature that lets users record everything happening on their device's screen, including the interface, opened apps, videos, photos, and more. This function is widely used for various purposes, such as demonstrating an app's operation, giving a virtual tour, showing off game scores, or creating tutorials. Understanding how to utilize this feature requires some knowledge of the iPhone's interface and navigation. Also, users need to learn how to activate and manage the screen recording settings, including audio and video quality adjustments.
History and Evolution of Screen Recording on iPhone
Originally, Apple did not offer an inbuilt screen-recording tool on iPhone. Users had to rely on third-party applications, which sometimes compromised the quality of recordings and posed potential security threats. However, with the introduction of iOS 11, screen recording has been a standard feature, available to all users within the control center. Over time, Apple has made various enhancements to screen recording, thereby reducing the need for external apps. Things like screen recording with sound, the ability to edit the screen recording, and the trim feature were added.
Benefits of Using the Inbuilt Screen Recording Feature
The inbuilt screen recording feature on the iPhone offers various benefits to users over third-party applications. First, it does not require any app installation, which saves storage space. Also, it guarantees secure and private data handling, as there's no risk of third-party access. The feature also supports both video and audio recording in multiple formats, offering users flexibility. Lastly, the inbuilt screen recorder promotes ease of access and use, thanks to the feature being available in the control center, which can be accessed with just a swipe and a tap.
Step-by-Step Guide to Screen Recording on iPhone
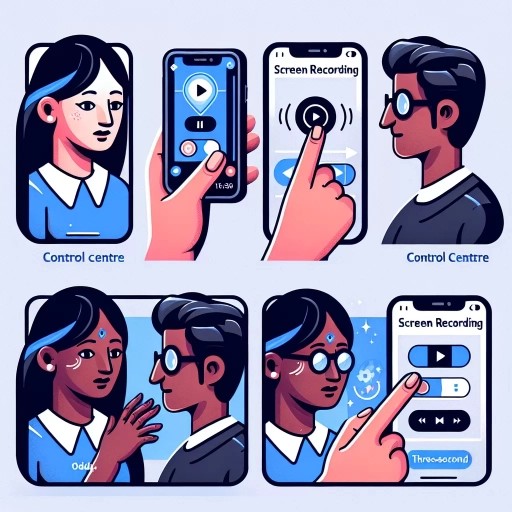
Activating Screen Recording from Control Center
The first step towards screen recording is to activate the feature in the control center. The control center houses various tools and settings, including the screen recording tool. Keeping the control center tailored to your most-used features allows for quick access. Once the screen recording feature is activated there, users can record their screen by pressing the record button and capture whatever is on their iPhone's screen.
Adding Audio to the Screen Recording
Aside from capturing video, the screen recording feature on iPhone also allows users to record audio, either through the microphone or the system audio. This function is incredibly beneficial for making commentaries, tutorials, or explainer videos. By long-pressing the record button in the control center, users can toggle on the microphone audio, effectively capturing both video and audio during the screen recording session.
Managing and Sharing the Screen Recordings
After finishing a screen recording session, the videos are automatically saved in the Photos app. From there, users can view the recorded videos, trim them, and share them directly via various platforms, including social media, email, and more. Having an understanding of managing these videos after recording – including basic edits and sharing options, ensures users make the most out of their screen recordings.
Troubleshooting Screen Recording Issues on iPhone
Addressing Screen Recording Not Working
There may be instances when the screen recording feature doesn't work as expected. Multiple factors can contribute to this, such as too many open apps, insufficient storage, or problems with settings. When encountering this, users may need to close some apps, free up some storage, or reset settings to get the feature working again.
Resolving Audio Issues During Screen Recording
Occasionally, users may experience problems with the audio during screen recording. This can manifest as no sound or low-quality audio in the recorded video. It might be due to incorrect audio settings, an outdated iOS version, or physical damage to the microphone. Correctly setting the microphone audio, updating the device, or addressing physical damage could resolve this issue.
Finding the Screen Recordings After Finishing
Another common problem some users face is locating their recordings after finishing the session. By default, screen recordings are saved in the Photos app under Recent. They can be accessed from there and moved to another album if desired for better organization.