How To Scan With Iphone
1. Understanding the Functionality of the iPhone Camera for Scanning
1.1. iPhone Camera as a Versatile Tool
The iPhone, popular for its high-quality camera, offers many more functionalities beyond just taking photos and videos. The camera can be transformed into a useful scanning tool by leveraging the various built-in features and apps. Unlike traditional scanners, using the iPhone for scanning documents provides you with the freedom to do it anywhere, making it more convenient and user-friendly.
1.2. Use of Built-In and Third-Party Apps for Scanning
Apple provides a built-in document scanner in its Notes app that can be easily used for scanning documents. Additionally, there is a plethora of third-party apps available in the Apple Store that can be used for scanning purposes, providing the user with more versatility and options to choose from. These apps, with their specialized features, can enhance the scanning experience, providing high-quality scanned images even under challenging conditions.
1.3. Quality of Scanned Documents Using iPhone
The iPhone's camera, combined with the right app and settings, can produce high-quality scanned images. In comparison to traditional scanners, the iPhone can provide similar or even better quality depending on the conditions. Furthermore, these scanned documents can be easily edited, stored, and shared through various platforms, thereby enhancing overall productivity.
2. Step-by-Step Guide to Scanning with the iPhone
2.1. Using the Built-in Document Scanner in Notes App
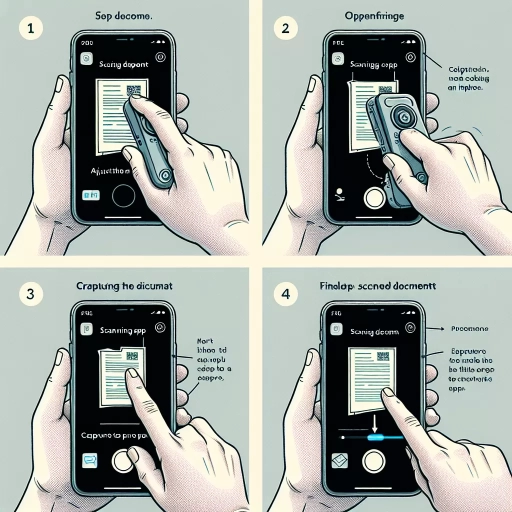
The Notes App present in iPhone has a built-in scanner that is easy to use. Open a new or existing note, tap on the camera icon, and select 'Scan Documents'. Place your document in the camera's view and click on the capture button. You can adjust the corners as needed and save.
2.2. Using Third-Party Scanning Apps
There are many third-party scanning apps available in the App Store, including popular ones like Adobe Scan, Scanner Pro, and CamScanner. Once the app is downloaded and installed, open it and follow the app-specific instructions to scan the document. Most of these apps provide the option to enhance the image quality, crop, and adjust the scanned image as per your requirements.
2.3. Editing and Sharing Scanned Documents
Once the document is scanned using either the built-in Notes app scanner or a third-party app, the document can be further edited like adding text, signatures, or highlights. The scanned document can be saved as a PDF or image in the phone's storage or could be uploaded directly to cloud storage. The document can also be easily shared through email, text message, or other messaging apps.
3. Efficiently Using iPhone for Scanning: Tips and Tricks
3.1. Perfecting the Scanning Technique
To get the best quality scans, one needs to keep a few things in mind. Ensure there is sufficient lighting when you are scanning the document. Try to keep the phone parallel to the document and avoid any shadows on the document. With practice, anyone can perfect the art of scanning documents with an iPhone.
3.2. Utilizing the Advanced Features
Many third-party apps provide advanced features like OCR (Optical Character Recognition), which can convert the scanned images into editable text. Such additional features can enhance the productivity and usefulness of the scanning function.
3.3. Efficiently Managing and Storing Scanned Documents
Managing and storing the scanned documents efficiently can save a lot of time and effort. Categorize and store the files in folders on your phone or directly upload them to a cloud storage system. Also, ensure to keep a backup of all your scanned document for safety.