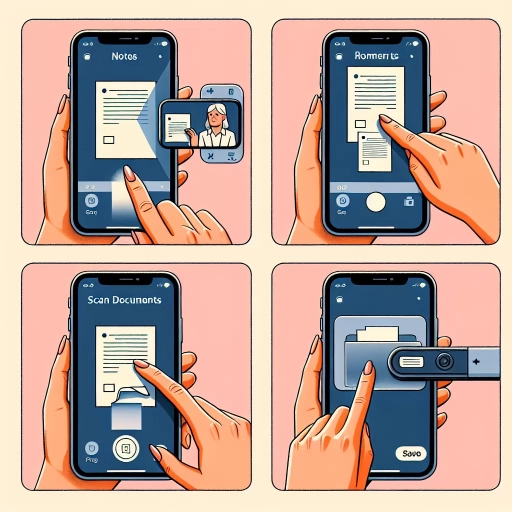
How To Scan On Iphone
Setting Up Your iPhone for Scanning
Methods to Enable the Scanning Feature on Your iPhone
The scanning feature on your iPhone is not immediately apparent and may require some setup. There are a few different methods to enable this useful tool. First, you can use the built-in functionality in the Notes app. This option is included in the latest iOS and is available right at your fingertips. Another way is by downloading a third-party scanning app from the App Store. These specialized apps often come with added features and customized settings. Finally, you also have an option of using the scanning feature of popular productivity apps such as Evernote and Onedrive. By knowing these different methods and understanding their respective pros and cons, you can choose the scan setup that best suits your needs and preferences.
Understanding the Different Scanning Techniques on Your iPhone
Depending on the scanner method you have chosen, there might be a variety of techniques to actually perform the scan. For instance, the Notes app scanning is simple and straightforward. You simply point your camera at the document and the app will automatically focus and capture the photo. Third-party apps, on the other hand, may allow for manual control over the scanning process. You can adjust focus, brightness, contrast, and even modify the color. Large scale productivity apps often feature OCR (Optical Character Recognition) capabilities, allowing the scanned document to be searchable and editable. Comprehending these scanning techniques enhances your mastery and efficiency in using the iPhone scanner, significantly speeding up your tasks and improving your productivity.
Maximizing the Use of Scanned Documents on Your iPhone
After scanning a document, there are numerous things you can do with it. You can save it to your phone, share it with others, or even integrate it into your work or personal projects. It's important to familiarize yourself with the sharing and saving capabilities of your chosen scanning method. For instance, the Notes app allows you to save the scanned document directly to your notes and share it with others via airdrop, message, or email. Third-party apps may include additional sharing options, such as directly uploading to social media or a cloud-based storage. Furthermore, productivity apps such as Evernote and Onedrive can readily incorporate the scanned documents into your existing files and notes in the app. The ability to fully utilize the scanned documents significantly increases the power and convenience of the iPhone scanning feature.
Applying Essential Techniques for Scanning High-Quality Images on iPhone
Successfully Scanning a Document on Your iPhone
Successful scanning on your iPhone entails more than simply pointing your camera at the document. It requires the right positioning, lighting, and even the camera settings. It's crucial to ensure that the entire document is in the frame of the camera. It might require you to adjust the distance between your iPhone and the document. Good lighting is also necessary to ensure a clear and readable scan. You may need to turn on more lights or move to a brighter location. Also, it might be beneficial to adjust the camera settings on your phone, such as the resolution and the focus, to guarantee optimal quality for your scanned document. By understanding and applying these principles, you can ensure that your scanned documents are not only visually pleasing, but also effectively delivers the vital information.
Rectifying Common Problems in Scanning Documents on iPhone
Although the scanning process on your iPhone is often easy and smooth, problems may sometimes arise. Recognizing common issues and knowing to fix them preserves the quality of your scanned documents.
One of the most common issues is the blurry or unreadable scans caused by poor lighting and shaky hands. In such cases, having a stable table to place your phone on and using the flashlight feature to provide additional light can improve the quality of your scans. Another issue is scans appearing cut-off or incomplete. This normally happens when the document is not fully inside the scanning area. Make sure to adjust your position and distance to fit the entire document in the frame. Lastly, there may be issues when using the OCR feature in some apps. If the OCR fails to recognize some characters, double-check the quality of the scan and make sure the lighting is consistent across the document. By foreseeing these potential problems and preparing the solutions, you can ensure a smoother scanning experience on your iPhone.
Enhancing Scanned Documents for Better Utilization
After acquiring a scanned document on your iPhone, there are various ways to enhance it. You can modify the contrast and brightness to make the text more readable. If you have a colored document, you can adjust the saturation and the hues to make the colors pop. Some apps even allow you to straighten and crop the document to remove unnecessary parts. In addition, if you are using a productivity app with an OCR feature, you can edit the text in the scanned document. This is particularly useful for converting printed documents into editable digital copies. Implementing these enhancements makes your scanned documents not only more visually appealing, but also more functional and effective.
Choosing the Perfect Scanning App for Your Needs
Weighing Your Options: Native iPhone App vs Third-Party Apps
Choosing between the native iPhone Notes app and third-party scanning apps can be difficult. The decision depends on your specific requirements, habits, and preferences. The Notes app is a decent choice if you want a basic scanning tool without any additional frills. It’s perfect if you don’t need to scan documents on a regular basis and if you are primarily using it in non-professional settings. However, if you require advanced features like OCR, automatic edge detection, and enhanced filter options, then a third-party scanning app would be more appropriate. Some popular choices include Genius Scan, Scanner Pro, and Adobe Scan. These apps are designed specifically for scanning purposes and thus offer more specialized functionalities and customizable options.
Understanding the Impact of Scanning App’s Specifications and Features
The specifications and features of your chosen scanning app significantly influence the quality and versatility of your iPhone scanning practice. Some scanning apps offer higher resolution scans, others provide malleable filter options, while some include OCR features. These app-specific attributes affect the legibility, appearance, and functionality of your scanned documents. For instance, an app with a high image quality setting is ideal for scanning important documents or photos, while one with a solid OCR feature is perfect for digitizing printed reports and books. Consequently, it is crucial to scrutinize the specifications and features of different scanning apps in order to find the one that fits your specific needs and circumstances.
Picking the Right Application Based on Your Usage Pattern
Your pattern of usage is another important factor in choosing the appropriate scanning app. If you frequently scan complex documents or colorful images, you would want an app that offers a diverse range of adjustment settings and filters. If you regularly need to scan long reports, having an app with an efficient and accurate OCR feature would be incredibly helpful. Moreover, if you often need to share your scanned files to other devices or platforms, opting for an app that supports a wide array of sharing options is advisable. Each scanning app has its unique strengths, so understanding your usage pattern and having a clear expectation of your needs allows you to select the best app that can deliver the desired outcome.