How To Scan A Document With Iphone
Understanding the Technology Behind iPhone Document Scanning
The Development of iOS Document Scanning Feature
Scanning a document with iPhones has become increasingly seamless over the years thanks to Apple's in-built document scanning system initiated with iOS 11. The tech giant made life much more straightforward for millions of users by integrating this functionality into the "Notes" app. With a focus on creating convenience and utility, Apple incorporated the use of the high-quality, built-in iPhone camera to capture documents in high resolution and provide tools to adjust and optimize the image for the best readability. This process limits the need for stand-alone scanners or external scanning apps, offering a more streamlined and integrated experience.
How the iPhone Scanner Works
The way an iPhone scans a document is quite straightforward. When the camera is pointed at a document, the document scanning feature recognizes the paper's edges, and using complex algorithms, extracts the document, ignoring everything else in the background. The scanner applies a color correction to make the document look its best, and it can automatically change a slanted document to make it look straight. One can also do this manually if not satisfied with the automatic correction. This convenience makes scanning documents as easy as capturing a photo, and the quality is maintained. Such advancements are due to machine learning and AI tools implemented in the latest iOS systems.
Improvements and Future Prospects
Since its introduction, the document scanning feature has seen several improvements. It now allows users to scan multiple documents into a single note, add signatures to scanned documents, and export them in different formats. As iPhones improve their camera quality and processing power with each new release, the scanning feature can provide higher quality documents and better image processing over time. We can expect Apple to keep adding new features, enhancing user experience, and refining the scanning process's efficiency.
Step-by-Step Guide to Scanning a Document with an iPhone
Setting Up for the Scan
Before proceeding with the scanning process, ensure that you are in a well-lit area and the document you intend to scan is visible and clear. Open the "Notes" app on your iPhone and create a new note. Once the note is open, click on the camera icon, and select "Scan Documents" from the options. This action opens the iPhone camera in a dedicated scanning mode where you can adjust the setting accordingly.
Scanning and Adjusting the Document Image
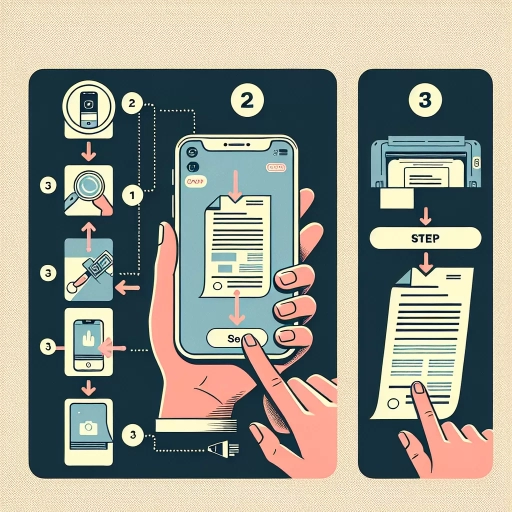
Point your iPhone at the document to scan. The camera automatically detects the document edges and captures the image of the document. You can adjust the corners of the scanned document manually for a perfect fit. After adjusting, you can apply different color options available for the scanned image - color, grayscale, black & white, or photo. By clicking "Keep Scan," you can add more scans or save the scanned document.
Saving, Sharing, and Other Options for the Scanned Document
Once you are satisfied with your scanned document, click "Save". The scanned document is now attached to the note. You can open the scanned document and share it, save it to files, print it, or even add a signature to it. This flexibility makes the iPhone scanner an incredibly convenient and powerful tool for digitizing physical documents, making them shareable and accessible from anywhere.
Making the Most out of Your iPhone’s Document Scanning Feature
Scanning Multiple Pages at Once
One of the best features the iPhone scanning function offers is the ability to quickly scan and compile multiple pages in a single operation. Immediately after scanning a document page, you could tap "Keep Scan," then move to the next document. Upon completion, the app will save the collection of pages as a single document, convenient for creating digital versions of physical books or other multi-page files.
Enhancing Scans with Markup
Apple's Markup tool allows users to add essential details to scanned documents effectively. By clicking "Markup," users can freely draw on the document, add text to it, magnify a part of the document, add a signature, and much more. Adding a signature is particularly handy for documents that require your signature before sending them online. One can even save several signatures for future use.
Organizing and Searching Scanned Documents
You can organize scanned documents by saving them as PDF to an iCloud Drive or your preferred storage option. Beyond merely sorting scanned documents, Apple's document scanning feature goes one step further in its usefulness by incorporating OCR (Optical Character Recognition) technology. This functionality allows for text recognition within scanned items, making them searchable in Spotlight. That is, if you are looking for a particular document, you can search for a word or phrase within the document, and Spotlight will pull it up. This feature widely expands the utility of scanning documents, making them more versatile and user-friendly.