How To Remove Window Tint
Understanding Window Tints
The Essence of Window Tints
Window tints serve both practical and aesthetic purposes in our vehicles. They offer privacy, reduce glare from the sun and headlights from other vehicles, and block harmful UV rays that can deteriorate interior fabrics over time. It's important to understand what window tint is before attempting the removal process. Tints usually consist of a thin film layered with adhesive, which can pose challenges when you're trying to remove it. However, when equipped with the right knowledge, materials, and patience, removing window tints can be a straightforward task.
Reasons for Removing Window Tints
There are several reasons why vehicle owners may want to remove tints. Over time, tints can bubble, peel, or fade, which not only looks unattractive but could also obstruct drivers' vision, posing a safety concern. Additionally, tints may be too dark for legal regulations in certain states, leading to fines or warnings. In other cases, vehicle owners might simply prefer the look of untinted windows, or want to replace old tints with new ones.
The Challenges of Removing Window Tints
Window tint removal can be a sticky, frustrating, and meticulous process if not done correctly. The adhesive used for the tints can leave stubborn residues on the glass, and removing this requires careful methods to avoid scratching or damaging the window. Furthermore, tint removal often involves working with sharp tools that can potentially harm both the person doing the task and the vehicle if not handled carefully. Understanding these challenges can help individuals adequately prepare and safely execute the process of tint removal.
The Removal Process
Method 1: Using Heat
One common method of removing window tints involves applying heat to soften the adhesive. This can be done using a hairdryer or a steamer. The idea is to heat the tinted surface to loosen the adhesive without melting it. Once the tint starts peeling off, one can use a razor blade or a knife to scrape off the tint. It's important to remember to do this patiently to avoid damaging the window. After scraping off the tint, any residual adhesive can be removed using rubbing alcohol or a specialized adhesive remover.
Method 2: Using Ammonia
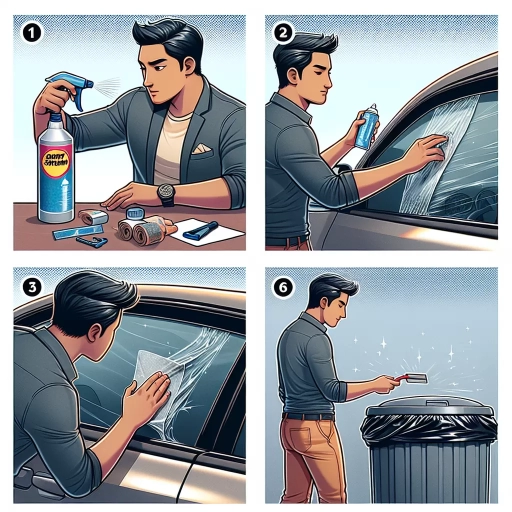
Another popular method to remove window tints involves the use of ammonia, a strong cleaning agent. It's important to remember that ventilation is key when using ammonia because it can emit harmful fumes. Ammonia breaks down the adhesive, making it easier to peel off the tint. After applying the ammonia, it helps to cover the window with a trash bag to retain the ammonia fumes, speeding up the adhesive breakdown process. After removal, rinse the window thoroughly to remove any ammonia traces.
Method 3: Taking Professional Assistance
A final alternative for removing window tints is seeking professional assistance from a car servicing station or a window tinting expert. This might be a suitable solution for individuals who are hesitant to do it themselves or don't have the time. Professionals have the right tools and experience, ensuring an efficient and damage-free process. While this might result in an additional cost, the peace of mind knowing your windows are safe could be well worth it.
Window Tint Removal Aftercare
Cleaning the Glass
Whether you have removed the tint yourself or had a professional do it, it's important to clean the window properly once the process is done. Use a glass cleaner and a soft cloth to remove any leftover adhesive or other residue. Remember to clean your window both inside and out for the best result.
Window Condition Assessment
After the tint has been removed and the window cleaned, check the window condition carefully. Look for any scratches or damage that might have occurred during the tint removal process. If any damage is found, seek professional advice to rectify it. It's recommended to fix any issues before considering re-tinting your windows.
Re-Tinting the Windows
If the removal was due to aged or bubbled tint, or a preference for a different tint shade, then it's crucial to wait a few days after the cleanup before applying the new tint. This waiting period allows the window to be completely free from residual adhesive or cleaning solution traces, ensuring that the new tint will adhere properly and last longer.