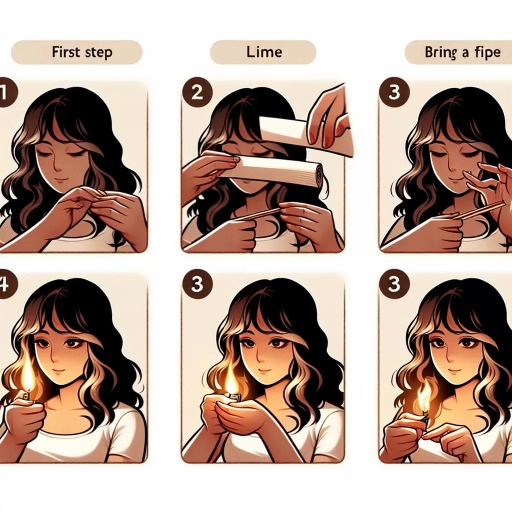
How To Light A Joint
Understanding the Basics
Materials Required
Lighting a joint effectively requires certain essential materials. First, of course, is the joint itself. High-quality dry herbs are recommended as this ensures a smoother, more enjoyable experience. The joint should be rolled firmly yet not packed too tight as it can restrict airflow and make it difficult to light. Second, a reliable lighter is required. There are various types of lighters available in the market, each having their characteristic. Butane lighters are commonly used due to their efficiency and cost-effectiveness. Alternatively, hemp wicks can be used which provides a more organic method of lighting up. They are also known to enhance the taste of the dry herbs.
Why Proper Lighting is Vital
Proper technique when lighting a joint is crucial for various reasons. A well-lit joint ensures a consistent burn, which results in an even and steady intake of smoke during puffing. Moreover, it prevents the joint from 'running' or burning unevenly, which can result in wastage of the dry herbs. Proper lighting also enhances your overall smoking experience by preventing potential frustrations like continuous re-lighting or excessive harshness due to rapid, uneven burns. Therefore, understanding the right method to light your joint is important not just for maximized usage but also for ensuring a quality smoking session.
Determining the Ideal Lighting Environment
The environment in which you light your joint can also impact how well it burns. Ideally, it should be done in a windless, controlled environment to prevent the flame from being blown out. Drafty conditions can make it harder to get an even light, leading to a subpar smoking experience. In addition, indoor lighting is generally preferred over outdoors as it offers a stable environment. Outdoor lighting might fight against environmental factors like rain, excessive heat, and high humidity which can potentially compromise the state of your joint. Thus, environmental consideration is also a critical aspect in this process.
Techniques to Light a Joint
The Traditional Method
The most common or traditional method to light a joint is by using a lighter. The process involves roasting or 'baptizing' the joint first, which means to apply a flame around the end of the joint without directly touching it. This process dries out any remaining dampness and helps prime it for a more even light. Once this is done, the joint is then lighted at the end by applying the flame directly while rotating it to ensure an even burn. Finally, the first puff should be gentle to establish a solid cherry (burning end of a joint) that can then be maintained throughout the smoke session.
The Hemp Wick Method
Hemp wicks are becoming a popular alternative to lighters in recent years due to their distinct benefits. Hemp wicks burn at a lower temperature than lighters, hence help avoid the inhalation of harmful chemicals released by butane lighters. To light a joint with a hemp wick, you simply light the end of the wick instead of a lighter and then use the burning end of the wick to light the joint. Similar to the traditional method, the flame is held slightly beneath the tip and slowly rotated to achieve an even burn.
The Glass Wand Method
Glass wands, also known as vaporizer wands or health stones, offer yet another method for lighting a joint. These tools work by superheating the glass wand using a butane torch and then applying it to the end of the joint. The high heat effectively vaporizes the dry herbs, creating a smoke that can then be inhaled. This method is particularly known to enhance the flavor of the dry herb and produces less ash and residue compared to traditional lighting methods.
Maintaining a Well-Lit Joint
Proper Inhalation Techniques
Once you've successfully lit your joint, making it stay lit involves proper inhalation techniques. Most importantly, avoid aggressive inhalation as it can cause the joint to burn too quickly and unevenly. Instead, take a slow and gentle draw which keeps the ember going at an adequate pace. This technique helps maintain a steady burn, thus enhancing your smoking experience. In case the joint goes out, you can relight it using the same initial methods. Avoid over-puffing as it can overheat and potentially waste your herbs.
Rotating The Joint
Rotating the joint while smoking is another technique for maintaining a consistent burn. By doing so, you ensure that air and heat distribute evenly, which further prevents the formation of runs. This method is particularly useful when smoking in groups where external factors like wind direction or the way someone smokes might affect the even burn. It is also advised to ash the joint gently and as needed to keep a robust cherry. Over-ashing can cause the joint to cool down and eventually go off.
Fixing Runs
Despite best efforts, runs or 'canoes' might still form where one side burns faster than the other. If it occurs, there are various methods to fix it. One common way is to slow down or halt puffing and let the slower-burning side catch up. If the imbalance persists, you can use your lighter to carefully burn off the excess paper on the faster-burning side. Another method is to wet the faster-burning side slightly with saliva or water which slows down the burn. Expertly resolving runs ensures that you get the best out of your joint and avoids unnecessary waste.