How To Harvest Dill
Understanding the Life Cycle of Dill
The Planting Process
Dill is a versatile herb that can be grown both indoors and outdoors. Its mild flavor adds a unique twist to various dishes. The planting process begins with choosing the right soil and location. Dill prefers well-drained, slightly acidic soil with lots of organic matter. A location that receives direct sunlight for at least six hours ensures healthy growth. Planting dill seeds directly into the ground is recommended rather than starting them in pots. Cover them lightly with soil and water them gently. Dill seeds usually germinate within two weeks if conditions are favorable.
The Growth Phase
Once the dill plants have germinated, they require regular watering, proper sun exposure, and occasional feeding to support their growth. Dill does not require a lot of nutrients. However, feeding the plants with a balanced, water-soluble fertilizer every four to six weeks can enhance their development. As dill plants are sensitive to transplanting, it is not necessary to move them unless they get overcrowded. In such cases, thinning out the dill plants ensures sufficient space for remaining plants', supporting better growth.
Pest and Disease Management
Dill is generally a hardy herb but can sometimes be infested by pests like aphids and caterpillars or affected by diseases such as mildew or leaf spots. Regular checks help detect any signs of pest attack or disease early on, thus enabling timely management. Natural methods, like using a mix of water and mild detergent, can help deter pests. Fungicides or organic alternatives can be used to treat diseases. Always ensuring a clean growing environment, adequate spacing, and proper watering can prevent these challenges.
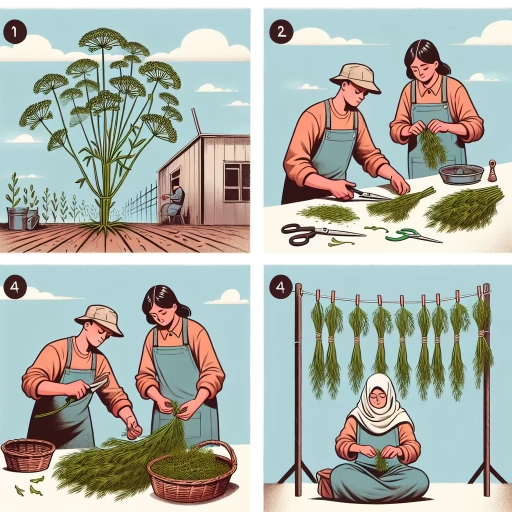
Steps to Harvest Dill
When and How to Harvest Dill
Knowing when and how to harvest dill is crucial in retaining its freshness and flavor. Dill leaves can usually be harvested 8 weeks after planting, just before the plant flowers. To harvest, cut the leaves or stems cleanly using a sharp knife or scissors. If harvesting the whole plant, cut it at the base just above the soil level. Always harvest dill in the morning before the heat of the day to retain its flavor and scent.
Preserving Harvested Dill
Learning how to preserve dill ensures its freshness over an extended period. Freshly harvested dill can be stored in the refrigerator for a week. To preserve them for longer periods, they can be dried, frozen, or stored in vinegar. It is crucial to note that while dried dill retains a stronger flavor, frozen dill maintains a closer taste to fresh dill.
Using Harvested Dill
Dill has a wide range of uses in cooking. It can be added to salads, dips, sauces, fish dishes, pickles, and more. Both leaves and seeds of dill can be used in cooking. Dill seeds, harvested when they are flat and brown, are usually used in pickling or spice mixes.
Maintaining a Healthy Dill Plant
Regular Watering and Feeding
Dill plants need regular watering and feeding to thrive. The plants should be watered at the soil level, avoiding wetting the leaves. Overwatering can make the plants weak and powdery mildew more likely to occur. Light, balanced fertilizer should be used every four to six weeks to promote healthy growth.
Proper Sun Exposure
Dill plants require full sun exposure for healthy growth. They should be placed in a sunny spot that gets six to eight hours of direct sunlight daily. If growing dill indoors, make sure they are near a south-facing window or under grow lights to get ample light.
Maintaining Proper Spacing
Having proper spacing between dill plants prevents overcrowding and ensures each plant gets sufficient sunlight, nutrients, and air circulation. Overcrowding can lead to competition for resources and increase the risk of disease and pest infestations. Therefore, thinning out the dill plants when they become too crowded is necessary to maintain a healthy garden.