How To Fax From Iphone
Understanding the Faxing Process from iPhone
Introduction to Faxing via iPhone
As technology continues to evolve, so does the way we communicate. Faxing from an iPhone might seem like a confusing concept to many, but it's actually quite simple thanks to several professional faxing apps available. These apps streamline and simplify the process, allowing users to send and receive faxed documents directly from their iOS devices. This flexibility allows users to manage their faxes from almost anywhere, at any time, and in a lot less time compared to traditional fax machines.
Benefits of Faxing from iPhone
There are significant benefits to faxing from an iPhone, particularly for people who value mobility and convenience. Firstly, it saves time by eliminating the need for a separate fax machine. Users no longer have to wait for a machine to dial up, send the fax, and then confirm the fax’s successful delivery. Secondly, it offers the ability to fax documents anytime and anywhere, making it a remotely accessible solution for professionals. Lastly, it has the added advantage of staying organised with all the faxed documents being stored digitally, making it easier to find and refer back to them if necessary.
Selecting the Right Faxing App
Choosing the right app to fax from your iPhone is as crucial as the faxing process itself. There are numerous faxing apps available on the App Store, but they are not created equal. Factors to consider include the app's ease of use, its review and ratings, its ability to securely transmit documents, and whether it offers any free trials. Users should also consider the cost-effectiveness of the app - some apps offer pay-as-you-go contracts while others have a monthly subscription fee, so users should consider their faxing needs when comparing pricing models.
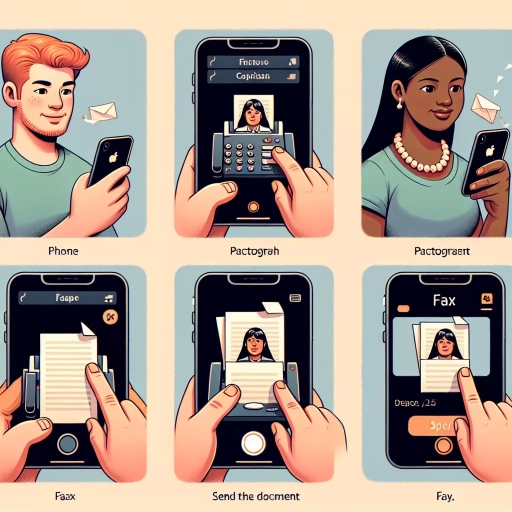
How to Fax from iPhone
Setting Up Your Faxing
Before you can start faxing from your iPhone, you need to download and install a reliable faxing app from the App Store. Upon downloading the app, you may need to create an account or sign in using an existing email or social media account. After creating an account, it's time to set up your faxing. Enter the relevant details, such as your name and fax number. The fax number is usually generated by the app and may be based on your location.
The Faxing Process
Once your account is set up, faxing is as simple as composing an email. Usually, you'll have to tap on the compose or new fax option and fill in the recipient's fax number. Then, you attach the document that you want to fax. Documents can be added from different sources such as your camera roll, iCloud Drive, or even by scanning a physical document using your phone's camera. Once the document has been attached and you've confirmed the recipient's details, simply hit send. You will receive a confirmation message once the fax has been sent successfully.
Troubleshooting Faxing Issues
While faxing from an iPhone is generally a smooth process, you may encounter a few glitches. Some common hitches include failed faxes, slow transmission, or inability to attach files. Most of these problems can be resolved by checking your internet connection, making sure the recipient's fax number is correct, or reducing the file size of the document being sent. If these steps don't help, consider seeking assistance from the app's customer support.
Best Practices for Faxing from iPhone
Maintaining Fax Quality
Maintaining the quality of faxed documents is essential for professional communication. There are a few tips for ensuring quality. First, ensure that the original document is clear and free of smudges or unnecessary marks before scanning it. Second, take advantage of your iPhone's high-quality camera when scanning documents. Ensure that the document is fully visible in the camera frame and that the lighting conditions are excellent. Third, try to send documents in PDF format as they tend to maintain their quality even after faxing.
Keeping Your Fax Secure
Given that faxed documents often contain sensitive information, it is essential to enforce fax security. Always consider the security measures provided by your selected fax app. This might include features like end-to-end encryption and password-protected faxes. Finally, it's crucial to keep your iPhone itself secure. Always use strong passwords or biometric authentication methods to prevent unauthorized access.
Managing Your Faxed Documents
With the numerous faxes, one may send or receive, it becomes necessary to manage these documents effectively. A good practice is to keep your sent and received faxes organized in separate folders. Additionally, utilize the search function provided in most fax apps to find specific documents quickly. Some apps also allow you to tag documents for easy identification. Lastly, remember to delete any unneeded faxes regularly to keep your fax inbox decluttered.