How To Enable Secure Boot Windows 11
Understanding Secure Boot and Its Importance
What is Secure Boot
Secure Boot is an important security standard developed by members of the PC industry to ensure that a device boots using only software that is trusted by the Original Equipment Manufacturer (OEM). When the PC starts, the firmware checks the signature of each piece of boot software, including firmware drivers (also known as Option ROMs), EFI applications, and the operating system. If the signatures are valid, the PC boots, and the firmware gives control to the operating system.
The role of Secure Boot in system protection
Secure Boot plays a critical role in protecting a PC's startup process against bootkit attacks. A bootkit is a malicious type of malware that loads itself into memory before the operating system starts. This attack can take control of the devices and load the operating system from there, potentially infecting the device without being detected by the operating system’s anti-malware software. By being a security standard that ensures that the PC boots using only the firmware trusted by the OEM, Secure Boot can prevent bootkit attacks.
Benefits of Secure Boot
With Secure Boot, you can protect your system from a wide range of threats, including rootkits, bootkits, and other forms of malware attacks that target the pre-boot process. Since Secure Boot provides an extra layer of security, it becomes more difficult for malware to penetrate the system. Secure Boot also allows for efficient system performance, as it checks all boot components for legitimacy and blocks any unauthorized software.
Enabling Secure Boot in Windows 11
The Requirement of Secure Boot for Windows 11
One of the significant changes with Windows 11 is its heightened security requirements. Microsoft has listed Secure Boot among its mandatory system requirements. This means, for you to upgrade your PC to Windows 11 or install the new OS, you need to ensure that the secure boot is enabled in your BIOS settings.
Steps to Enable Secure Boot
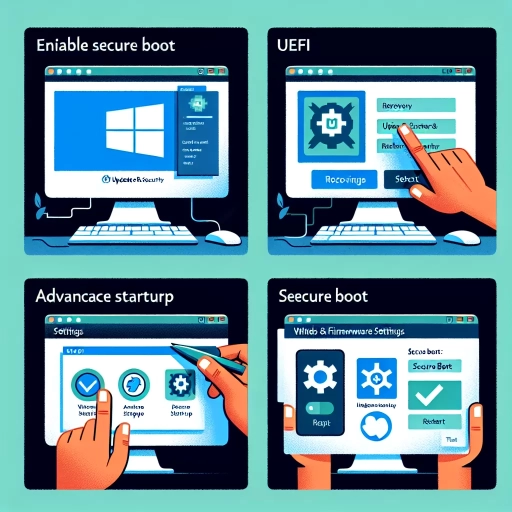
Enabling Secure Boot involves accessing your computer's BIOS settings and then activating the function. Here are the steps to do that:
- Restart your computer and press the appropriate key to enter the BIOS setup. This key varies from one system to another; it can be either Del, Esc, F1, F2, or F10.
- Navigate to the "Security" tab or similar.
- Locate the "Secure Boot" option and change it from disabled to enabled.
- Save your changes and then exit BIOS. Your PC will restart, and Secure Boot will be enabled.
Verifying Secure Boot status in Windows 11
You can confirm whether you've successfully enabled Secure Boot on your Windows 11 PC through the following steps:
- Press the Windows + R keys to open the Run dialog box.
- Type "msinfo32" in the box and click OK or hit "enter".
- This will open the System Information window, where you can check your Secure Boot status under the 'BIOS Mode' value.
Dealing with Potential Secure Boot Issues
Secure Boot greyed out in BIOS
Some users may encounter a situation where the Secure Boot option in BIOS is greyed out and inaccessible. This issue typically happens when the PC is in Legacy BIOS mode instead of UEFI mode because Secure Boot is a feature of UEFI. Changing the motherboard settings from BIOS to UEFI and disabling Compatibility Support Module (CSM) usually resolves this issue.
Problems with Booting Post-Enabling Secure Boot
If you have problems booting your computer after enabling Secure Boot, it's likely due to a driver or software incompatibility. This issue usually occurs when an installed driver or software isn't compatible with Secure Boot. You can usually resolve this by identifying the incompatible software and updating it to a version that is compatible with Secure Boot.
Disabling Secure Boot
If your Secure Boot becomes problematic, you may need to disable it. Typically, you can do this by following the same steps you took to enable it, but select 'disabled' instead. Keep in mind though, disabling Secure Boot may decrease the safety of your boot process and make your PC susceptible to bootkit and other malware attacks.