How To Dry Dill
Understanding the Essentials of Drying Dill
The Anatomy of Dill & Its Importance in Preservation
The dill plant is an aromatic herb that belongs to the parsley family, known scientifically as Anethum graveolens. Dill brings a unique aromatic flavor to multiple dishes. The main parts of the plant in culinary use are the leaves—also known as dill weed—and the seeds. To preserve dill for a lengthy period, you need to understand its anatomy and characteristics. This includes its moisture content, humidity needs, and ideal storing conditions. Upon cultivation, the dill plant prefers warm to hot summers with high sunshine levels and well-drained, slightly acidic soil. It widely grows in Eurasia where its leaves and seeds are widely used in the regional cuisines. Understanding the plant's growing condition gives insights in replicating similar conditions when preserving it through drying.
Understanding Dill’s Nutritional Composition
The fresh dill leaves are incredibly low in calories yet offer a wide array of nutrients. They contribute a substantial amount of Vitamin C, an antioxidant that helps your body resist infection. Additionally, it’s a good source of Vitamin A, a fat-soluble vitamin good for healthy vision, immune function, and reproduction. Its mineral content includes iron, magnesium, and calcium. Hence, drying dill should target to retain most of these rich nutrients through a process that does not degrade them. The drying method chosen should strike a balance between preservation and nutrient retention.
The Various Drying Methods for Dill
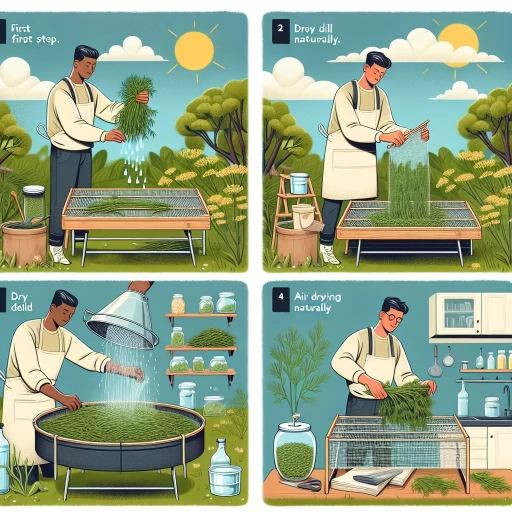
The most commonly used methods to dry dill include hanging and air-drying, using a food dehydrator, or even a microwave. These methods have different pros and cons in terms of the time they take, the flavor preservation, and the nutrient retention. More advanced methods also include freeze-drying and vacuum-drying, but they often require specialized equipment. You must understand the entire process of each method, including the preparation stage, the actual drying stage, and the storage conditions. With all these considerations in mind, you can then make an informed decision on how to dry dill optimally, preserving its fresh, aromatic flavor, and critical nutrients.
Step-by-Step Guide to Drying Dill
Preparation Stage for Drying Dill
The first step to successfully drying dill is to choose the right dill plants. Ideally, you should choose mature dill branches for drying since they have fully formed seeds and leaves. They should be picked under the right conditions; in the early morning before the midday sun evaporates the plant's inherent moisture, and after the dew has dried off. The branches should also be thoroughly washed and drained to remove any dirt and impurities. Additionally, removing the lower-grade leaves and only remaining with top-quality leaves will drastically improve the overall result after drying.
The Drying Process
Depending on the chosen method, the drying process may vary greatly. However, the fundamental principle remains the same; to remove as much water as possible without compromising the flavor or nutrients of the dill. For instance, air drying involves tying the dill branches into small bunches, then hanging them in a warm, well-ventilated place away from direct sunlight until they're completely dry. Using a dehydrator or an oven, place the dill branches on the trays and set the temperature at a recommended level, often around 95-115°F (35-46°C), until they're crisp to touch. It's pivotal to monitor the drying process closely to ensure the dill doesn't over-dry or develop molds.
Storing Dried Dill Safely
Once the dill is completely dry, it should be carefully stored to preserve it. It should be crumbled and placed in an airtight glass or plastic container, stored in a cool, dry place away from light. Containers with screw-top lids or rubber gaskets are the best for storing dried herbs such as dill. It should never be placed on a sunny windowsill as sunlight will degrade the quality quickly. By proper storage, the dried dill will retain its flavor and nutritional values for longer.
Maintaining the Quality of Dried Dill
Keeping Dried Dill Fresh
One of the challenges of drying dill is maintaining the fresh flavor that the herb is known for. To keep the dried dill from losing its flavor, it's important to store it properly. This means keeping it in a cool, dark place and making sure it's sealed tightly. When using the dried dill in cooking, it's also crucial to add it at the end of the cooking process to preserve its flavor. With these steps, the dried dill will taste as fresh as possible.
Periodic Quality Checks of Stored Dill
To ensure the quality of dried dill, regular checks are integral. This involves visually inspecting the dill for any sign of mold development or color changes that might indicate degradation. This also applies to the aroma and the overall flavor. If the stored dill appears to have darkened in color, lost its smell, or tastes stale, it's likely that it has gone bad and should be discarded. Quality checks help ensure that only fresh and safe dill is used in meals, optimizing nutritional benefits.
The Shelf Life of Dried Dill
When stored under optimal conditions, dried dill usually lasts for about 1-2 years. However, for the best taste, it is recommended to use it within the first year. The shelf life of dried dill is indeed longer than that of fresh dill. However, the valuable flavor of the herb may gradually decrease with time. Having a labeled date on the containers can help keep track and ensure you enjoy and utilize the dried dill within its peak periods. Despite the longer shelf-life, efforts should be made to consume stored dill timely to get the maximum flavors and nutritional benefits.