How To Draw A Bike
Understanding the Basics of Bike Drawing
The Importance of Observation
Often, art begins with observation, and drawing a bike is no different. Before you even put pen to paper, it's valuable to take some time to study the object you're about to draw. In this case, bikes have a particular shape and structure that are fundamental to their design. From the curve of the handlebars to the circular shape of the wheels, these are elements you need to capture accurately to create a realistic depiction. As a starting point, try looking at different types of bikes. This includes road bikes, mountain bikes, and vintage styles to develop a comprehensive understanding of their common elements and unique features.
- Observation helps understand the bike structure
- Looking at various types enhances understanding
- Essential to capture accurate depiction
Drawing Techniques and Tools
To perfectly emulate the bike's structure, you'll need to master some basic techniques, like sketching, shading, and detailing. Sketching allows you to lay the basic groundwork for your drawing, creating the initial outlines that you can fine-tune and detail later on. Shading brings dimension to your work, making it look more realistic and 3D. Lastly, the detailing process is where you can let your creativity shine. Add the small parts of the bike-like chains, pedals, and brakes, and don't forget textures and patterns that can bring your bike to life. As for tools, a variety of pencils can give you a range of lines and shading levels, while an eraser is essential for correcting mistakes and creating highlights. Moreover, using quality papers can drastically change your drawing's overall appearance and detail preservation.
- Sketching lays down the groundwork
- Shading allows realistic 3d representation
- Detailing adds elements of realism and creativity
Step-by-Step Guide to Drawing a Bike
Drafting the Basic Shape
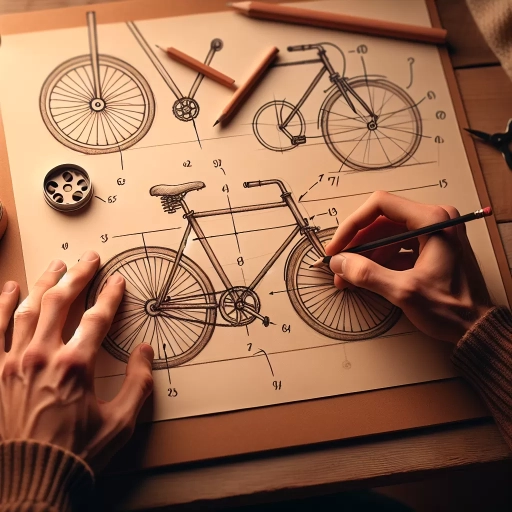
Start your bike drawing by drafting the basic shape. Begin with two circles for the wheels, making sure that they're the same size and aligned with each other. Draw a pentagon for the body and two straight lines joining the two wheels. Remember to draw lightly at this stage as these lines are only meant to guide you and will be erased as you progress.
- Start with two circles for the wheels
- Draw a pentagon for the bike body
- Ensure to sketch lightly for easy erasure
Detailing the Body and Wheels
Once you've outlined the basic shape, you can start detailing the body and wheels. Draw the bike's frame connecting the outline of the body to the centers of the wheels. Use straight lines to draw the handle and fork, and circles within the wheels to represent the hub. Now, add the chain, gears, and pedals resting on the bike's lower frame. You can add the curves and shapes of the rubber tyres, the rim, and the spokes in the wheels. Try to keep your lines as even and symmetrical as possible for a realistic look.
- The frame connects the body to the wheels
- Add the handle, fork, chain, and gears
- Draw the tyres, rim, and spokes on the wheels
Adding the Final Touch
In this final stage, erase all the unnecessary lines from your initial sketch and refine the details of your bike. Pay attention to the little details like the grooves on the tyres or the texture on the seat. Enhance the depth and dimension of your drawing by adding shades. Use a softer pencil or charcoal for darker areas and a harder lead for lighter sections. Lastly, add your personal touch, like a little basket on the handlebars, colourful decals on the frame, or even a background scene to place your bike in context.
- Erase unnecessary lines and refine details
- Add shading to enhance depth
- Include personal touches and background