How To Crop A Screenshot On Mac
Understanding How Screenshots Work on Mac
What is a screenshot
A screenshot, also referred to as a screen capture or screengrab, is an image taken by a person to record the items displayed on the screen of a computer or mobile device. Normally, a screenshot captures the entire screen, but often, you might only need to record a specific area or information. The method by which you capture a get screenshot differ from device to device. When using a Mac, Apple does provide some inbuilt tools to facilitate this process, which we would delve into in this article.
Where screenshots are stored on Mac
Once you take a screenshot on your Mac, the image is automatically saved to your desktop. After capturing, a thumbnail of your screenshot momentarily appears in the bottom-right corner of your screen. You can simply drag this thumbnail into a folder or document to swiftly save it elsewhere. Alternatively, you can click on the thumbnail to open and edit the screenshot with Mac’s built-in markup features. This also includes the ability to crop your screenshot, which we'll discuss further in the subsequent sections.
The importance of a screenshot
Screenshots are incredibly significant in today's digital communication world because they allow us to share visual information accurately. For example, if you make an online purchase, capturing a receipt's screenshot can serve as proof of the transaction. Screenshots also come in handy when trying to explain or demonstrate a process, instructions or a problem encountered on your device—making them a powerful tool for tutorials and troubleshooting. The usefulness network extends to students, tutors, professionals and everyday users who continually switch between devices and platforms and use visuals to interpret and communicate data.
Methods of Taking Screenshots on Mac
Full Screen
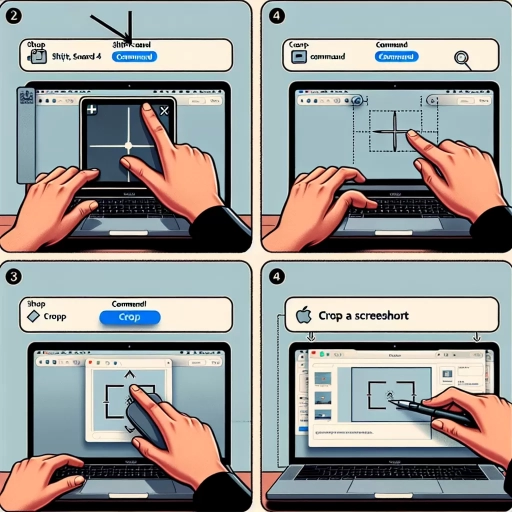
Taking a full-screen screenshot on your Mac is a simple and straightforward process. The quickest way is by using the key command Shift-Command-3. Once you press these keys simultaneously, the screenshot is automatically saved on your desktop. If you rather prefer to copy the screenshot to your clipboard, you can press the keys Control-Shift-Command-3. After this, you can paste it right into any document or editing tool of your preference. This method is excellent when you want to capture everything visible on your screen, but there will be times when you need to focus on an isolated area. In such cases, you'd need to take a portion screenshot.
Portion of the Screen
At times, you might want to capture a specific part of your screen. In such cases, a full-screen screenshot might not be suitable. Luckily, Mac has an in-built tool that allows you to take a screenshot of a selected portion of your screen. This can be achieved by using the key command Shift-Command-4. Your cursor would then change into a crosshair. You can now click and drag to select the portion of the screen you want to capture. When you let go of the mouse button, a screenshot of the selected area will be saved to your desktop. This command gives you much more control over what is captured in your screenshot, making it ideal for instruction manuals, tutorials, and other detailed documents.
Specific Window/Application
If you desire to capture a specific window or application, Mac has the perfect tool to aid this. By pressing Shift-Command-4 and then the Spacebar, your cursor will change into a camera icon. As you move this camera over different windows or applications on your screen, each one will be highlighted. Simply click on the window or application you want to screenshot, and voilà, the image is saved to your desktop. This command saves time and effort cropping or selecting the specific window from a full-screen shot. It's ideally created for program developers, technical support agents, and other industry professionals who regularly require specific-window screenshots.
How to Crop a Screenshot on Mac
Using the Preview tool
The Mac's Preview tool can be used for cropping a screenshot once you have taken it. To do this, open the screenshot in Preview, click the markup toolbox, select the rectangular selection tool, then drag to select the part of the screenshot you want to keep. After making your selection, navigate to the Tools menu, select Crop, and then save your newly cropped screenshot.
Using the Screenshot app
One of the easiest ways to crop a screenshot on a Mac is by using the Screenshot app. After pressing Shift-Command-5, a menu will pop up at the bottom of your screen giving you multiple options to capture specific screenshots. Once the screenshot is captured, click on the thumbnail that appears. This opens the screenshot in an editing window, where you can use the editing tools to crop, highlight, or markup your screenshot before saving it.
Using third-party apps
There also exist a plethora of third-party applications available that offer comprehensive screenshot tools, including the ability to crop. Some popular options include Lightshot, Snagit, and Skitch. These applications offer more advanced functions, such as varying shape crops, built-in sharing features, and often a more intuitive interface. However, these often require the installation of additional software and may not be necessary for those who only occasionally need to crop screenshots.