How To Connect Airpods To Macbook
Understanding the Basics: Components and Compatibility
Know Your Apple Products
The first step to understanding how to connect your AirPods to your MacBook is recognizing the nature and compatibility of your Apple products. While Apple products are designed to seamlessly integrate with each other, certain models of AirPods or MacBooks may have specific requirements or capabilities. For instance, older versions of the MacBook may not support all features available in the latest AirPods. To ensure a successful connection, it's important to read the user manual or visit the Apple website to better understand product compatibility.
Software Requirements and Updates
Your ability to pair your AirPods to your MacBook may significantly depend on the software running on both devices. Apple continually updates its OS to introduce new features, fix bugs, and enhance user experience. Therefore, make sure your MacBook is running on the latest macOS and your AirPods firmware is up to date. Regular software updates not only ensure compatibility and seamless connectivity but also optimize device performance and security.
Component Inspection
Before proceeding to connect your AirPods to your MacBook, you should inspect both devices' physical components. Ensure the AirPods are charged, and the charging case has no signs of damage or malfunction. The MacBook's Bluetooth status should also be checked. The hardware should be in perfect working condition to ensure a trouble-free pairing process.
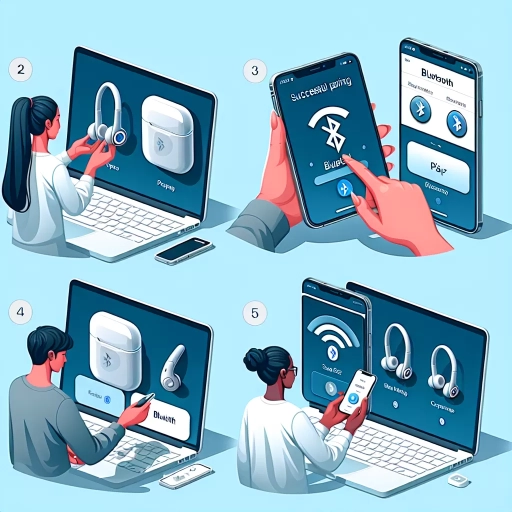
Pairing Process: Step-By-Step Guidance
Prepare Your Devices
Begin the pairing process by turning on your MacBook and ensuring Bluetooth is enabled. If not, you can turn it on from the Menu Bar or System Preferences. Your AirPods should be in the charging case with the lid open. Hold the setup button, which can be found at the back of the case, until the status light flashes white. This signifies that your AirPods are ready to be paired.
Pairing Your Devices
On your MacBook, go to System Preferences, then select Bluetooth. Make sure Bluetooth is turned on. Your MacBook will start searching for available Bluetooth devices and your AirPods should appear in the list. By clicking connect, your MacBook and AirPods should pair successfully. Once paired, they should automatically connect whenever they are in range, and AirPods are out of their case, and your MacBook Bluetooth is enabled.
Troubleshooting Connection Issues
However, if the connection process doesn't go as smoothly as expected, there might be some issues that need troubleshooting. The most common solution is to restart both devices or turn Bluetooth off and on again. If these do not work, you might consider resetting your AirPods, which means all devices they have been paired with will be forgotten, and you'll need to pair them again. You can reset your AirPods by holding the setup button until the status light flashes amber.
Optimizing Usage: Tips and Tricks
Optimizing Sound Quality and Performance
Once you've successfully paired your AirPods with your MacBook, you can improve your listening experience by adjusting certain settings. For instance, you can set up the microphone to always use the same AirPod or optimize the sound for either voice clarity or ambient noise reduction. You can do this by going to System Preferences, then clicking Sound, and finally selecting the Output tab.
Using Siri With Your AirPods
If you have the second-generation AirPods or the AirPods Pro, you can also use Siri entirely hands-free. This can be set up from the Bluetooth settings on your MacBook. You can ask Siri to do things such as adjust the volume, play, pause, or skip tracks.
Stay Connected and Productive
Connecting your AirPods to your MacBook is not just about enjoying your music; it's also about staying connected and productive. With your AirPods paired to your MacBook, you can participate in video conferences, dictate text, listen to podcasts while you work, and get your favorite macOS notifications all directly to your ears.