How To Clean A Toaster
Understanding Your Toaster: Components and Safe Cleaning Practices
Prominence of Your Toaster's Components and Their Purposes
Before you start cleaning your toaster, it’s necessary to understand the different parts of the toaster and their functions. Your toaster isn't just a single unit, but it comprises various components: bread slots, a crumb tray, knobs, and levers. Each of these parts plays a different role in toasting your bread to crisp perfection. By understanding how each part works, you can ensure successful and safe cleaning, guaranteeing a longer-lasting appliance.
Ways to Clean Without Damaging Your Toaster
The most significant factor to consider when cleaning your toaster is to avoid damaging the toaster’s components. Each component requires a different method of cleaning; for instance, bread slots may demand various cleaning tools compared to the crumb tray. In addition, it's essential to unplug and let the toaster cool down before beginning the cleaning to avoid electric shocks or burning.
Importance of Regular Cleaning and Maintenance
Regular cleaning of your toaster doesn’t only keep it operating efficiently, but it also guarantees your safety while using the appliance. By routinely cleaning your toaster, you can prevent bread bits from catching fire or causing unnecessary smoking. Furthermore, frequently removing crumbs can prevent pests from invading your counter or pantry.
Step-by-Step Guide: How to Clean a Toaster
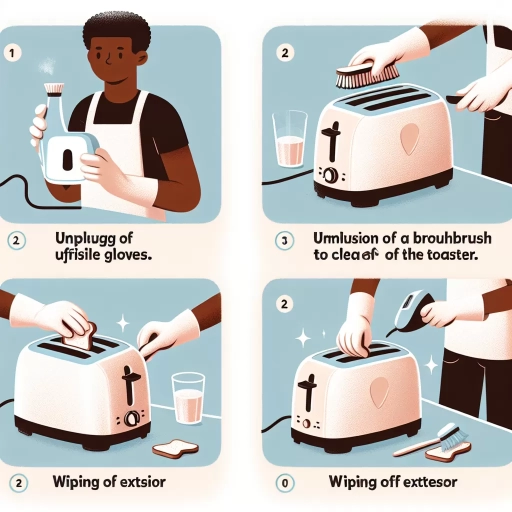
Unplugging and Preparing Your Toaster for Cleaning
First and foremost, always ensure the toaster is correctly unplugged and entirely cooled before you begin cleaning. The first step in cleaning is to physically prepare your toaster and yourself. To do this, you will need to gather necessary cleaning materials such as a soft brush, a damp cloth, and soapy water. With these materials in hand, you are now ready to clean your toaster without worrying about damage.
Removing Crumbs and Outer Cleaning
The next crucial step is focusing on crumbs which are the major cleaning issues in a toaster. Most toasters come equipped with a removable crumb tray, which can be slid out and cleaned separately. Depending on the number of crumbs, you may need to rinse the tray under a faucet and then let it air dry. The exterior should be wiped down with a cloth soaked in some soapy water. However, ensure the outside is not overly soaked to prevent infiltration of water into the toaster's internal components.
Deep Cleaning the Bread Slots and Final Procedure
For deeper cleaning specifically targeting bread slots, a soft brush becomes handy. This brush can be used to gently sweep away breadcrumb stuck possibly in the toaster's interior corners. In case some stubborn grime exists, you can use a combination of baking soda and water. Always ensure the toaster is thoroughly dry before plugging it back in. With these steps, you now have a clean, efficient, and safe toaster ready for use.
Preventing Mess: Tips to Keep Your Toaster in Top Shape
Minimizing Crumb Build-Up
Through preventative measures, you can avoid crumb build-up which is the most common issue with toaster usage. Avoid toasting crumbly bread or the ones with loose toppings. Also, try settling the habit of regularly emptying the crumb tray to minimize build-up, which will then result in less cleaning effort in the long run.
Avoidance of Hazardous Materials
Damaging your toaster during cleaning can sometimes be attributed to the use of inappropriate cleaning materials. Avoid using metal utensils or overly sharp objects when trying to dislodge bits of bread from inside the toaster, as they could damage the heating elements.
Regular Maintenance and Care
Regular maintenance includes practices such as unplugging your toaster when it’s not in use, leaving the toaster to cool before cleaning, and keeping the appliance covered when not in use. By implementing these practices, you can extend the life of your toaster, require less urgent clean-up, and maintain a safer kitchen environment.