Cheat How To Solve A Rubik's Cube
Understanding the Basics of a Rubik's Cube
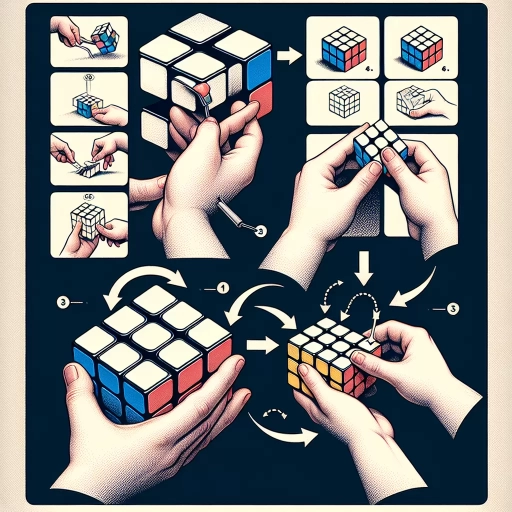
Structure and Functioning of a Rubik's Cube
The Rubik's cube, invented by Erno Rubik in the year 1974, is a 3-dimensional puzzle that involves rotating individual squares, aiming to have one solid color on each of the cube's faces. This seemingly simple toy hides a depth of complexity. With 3x3x3 squares, the Rubik's cube can be transitioned into approximately 43 quintillion configurations, but only one of these combinations is the solution.
Identifying the Types of Moves
There are several types of moves you can use to manipulate a Rubik's cube. The basic moves involve rotating a single layer 90 degrees, either clockwise or counterclockwise. These moves are generally denoted in algorithms by the letters R, L, U, D, F, and B, which stand for Right, Left, Up, Down, Front, and Back respectively. The proficiency in performing these moves and recognizing the patterns they form will significantly reduce the time required to solve the cube.
Naming of the Cube's Parts
In order to precisely describe the moves required to solve a Rubik's cube, different parts of the cube have specific names. The small cubes that make up the whole Rubik's cube are called "cubies,” and they come in three types. The ‘center’ cubies are those at the center of each face, encapsulated by the other squares. The eight ‘corner’ cubies occupy the corners of the cube, each displaying three different colors. Finally, the ‘edge’ cubies are displayed between the corner and center cubies, each of them revealing two different colors. Recognizing each type of cubie and understanding its relevant positioning will help start the journey to the finish line.
Step-by-Step Guide to Solving a Rubik's Cube
Constructing the Daisy
The initial step in solving a Rubik's cube is constructing a pattern known as the 'Daisy'. In this condition, the cube should ideally have the color yellow at the center of the top face, surrounded by edge cubes of different colors resembling the petals of a daisy. Even though it doesn't directly lead to a solution, this step aids in formulating an understanding of the cube's complexity.
Creating the White Cross
After constructing the daisy, the subsequent step involves transitioning this daisy into a white cross at the bottom of the cube. The aim of this step is to ensure only white stickers face upwards on the edge cubies, while the color on the sides of those cubes matches the center color of the adjacent sides.
Completing the First Layer
The third step entails using a sequence of movements, known as an algorithm, to bring the corner cubies into their right position. By aligning the top layer color with the center color and using an algorithm we can rotate the cubes as needed until all corner and edge cubies form a solid face.
Mastering Advanced Techniques
Solving the Middle Layer
After mastering the steps to complete the first layer, the focus now is shifting to the cube’s middle layer. Using the right algorithm, it’s possible to place the edge cubies in their right positions without interfering with the already solved first layer. This is an important stage as it sets the pace to solve the top layer.
Solving the Top Layer
Solving the top layer is a more complex action, as it involves working on edge and corner cubies independently while maintaining the existing solved layers. The move involves multiple algorithms to move pieces from the initial scrambled position to their destined position.
Permuting the Last Layer
The final stage of solving a Rubik's cube is known as "Permuting the Last Layer" or PLL. This step is about moving the top layer's cubes to their correct positions. It requires a series of specific steps and algorithms to make sure all cubes fall into the right place, leading to a solved Rubik’s cube.